Sunday, 30 March 2014

Pictures I used in my assignment

Tattoos:

This image is from Flickr.
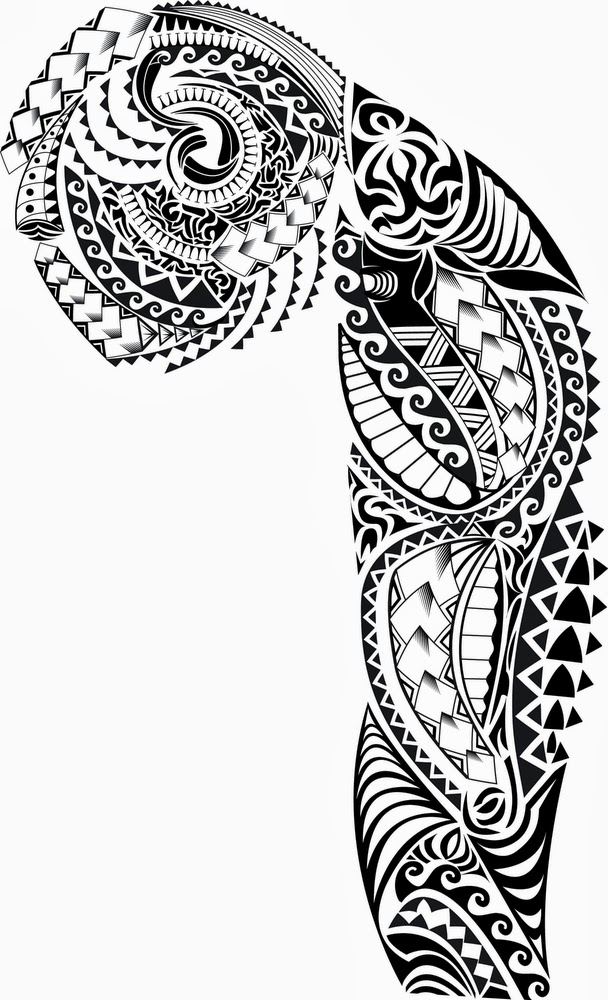
https://www.flickr.com/photos/68870181@N03/9596166653/in/photolist-fBYS2c-j6CY5V-ecEJZn-kNi58a-9r5fQm-eYNQHV

Piercings: (All from Flickr)
Lip:                                                                                


https://www.flickr.com/photos/27790728@N02/3065050580/in/photolist-5ERbKE-6ddkpK-ddRtLj-595wXJ-8CUs4z-KQdy9-bxhYrs-bAmEWJ-G8j6h-ASv2R-bJJYCX-ayzPu-pygMM-ejWG5i-7qLkaD-bDDmHt-6dqukZ-9r8egC-6v9NTi-7qYapw-7qUfHM-6ZK1um-ae95t-aezfo-ae9ea-aexfF-ae8uW-aezoE-aezA4-ae8kw-37Mzgh-8ZZWPM-6ZzCtV-618HHs-ddRsSW-6E7Prf-UGH2D-2JXKbB-6ZqMHy-7Nc87E-dKr5WD-5aKBxD-7qYaGm-7qYazy-6GscoF-8XvhiS-7VnAYh-aKp17p-btXQsX-c2zdxw-6cCnf9


https://www.flickr.com/photos/24522216@N03/2359819339/in/photolist-4AwG5k-3FkSB-3cJVy1-5uZs1f-hrpJD-4PsEnv-5tQJTp-dAJfpB-bB7bEc-8yDLNx-g8d8M2-5VMCsN-6Xvr6U-7412eH-ik85ym-7THkV6-9EnWXh-65fjN3-5bk2Rr-MVxVa-mKpPJ-ejYqts-G8j6h-595wXJ-ec7bs8-eGVi4R-edviU5-5P8u9f-66ZrRk-7MFgYR-4BapTf-69aHhN-61F11z-6jgNRr-9U6VJx-9aRgZK-7Y2AD1-7kvsyR-ajzYBJ-4LA8No-4YswcJ-4q75Wm-9QwLAm-5M9zx2-9vdjc1-9vdjef-4NZfsR-93npue-cZeZHS-77hD5S-5gRakV

All studs were clone stamped.

Background: (Flickr)


http://www.flickr.com/photos/13286453@N00/6294928970/in/photolist-aAga57-biFLNi-d7Q2FA-bsJMGg-fjp1wG-cdJozL-fHVTan-8DrxRN-7KNNZb-gNzYLg-9S4Q3Q-bFyipV-7DtjkN-dkCE7u-7XX9sQ-8a9rae-8a9qQk-8a9qU4-aExgzM-gjsPDU-8a9ri2-gjsrWA-89QdcF-89TsSS-7XTCUx-bArDvZ-aWp27z-aWQhqp-ijNniD-9dZWgP-9e42bQ-9e4257-9dZWnZ-9nzdBB-bpSYh9-8a9qZK-8acFZW-as9F9d-bAzbNX-846aRE-8433it-8433Ze-by7GtV-ejKf3b-7zvSJB-ejU63a-7XGXv9-7TeMfh-8ubeJs-7XXxUA-7TeNW9

Beanie: (Flickr)


https://www.flickr.com/photos/35468140272@N01/5101502931/in/photolist-8LNx66-a1TdRe-a6SJWY-8rcWUB-8rggaE-ajbzCD-8XtCP2-bhnB4r-9cVwq9-cKyrD9-cKyru7-cAtwsm-8rjDRu-dUKVJM-9GfLgT-8rfHNB-8rddtx-8rkjTV-8rhLqM-8rkT77-8rgaeN-8rorEW-8rhLqc-8rdeda-8seg4K-8rgdvW-8rgejw-8rd8JD-8rjJpY-8rorZG-8rdafZ-aNgyBB-ajbztt-7ZsCJi-8rge2m-9tzPyh-ajbzpv-ajemUf-ajbAaF-ajenF3-dxtdGd-csr4RQ-a6QsTe-8XsSMK-8rgfR1-8rd2tr-9u38yj-9tZnWH-8rggw5-8rd5iV-8rkjZt

Fire:


https://www.flickr.com/photos/64418630@N04/6461702279/in/photolist-aQZUXZ-bibJqg-m7SEYv-eB1Q1n-kx1WPV-dUzJVw-9xyJKw-7GR4Pi-8f9vtc-aBn9tE-aRCagi-aRCaAv-dNNWhe-fzqRjL-d96WCd-dNQRXB-a5ikNG-imjQe8-imkN6N-imkDp9-imjsyd-eeoHep-imjAQU-crAUVQ-8yh5Vz-fPuTPi-kx3DuG-d8BuZN-9u1iXV-e8YuGW-kK6w6L-9wxTGE-8tuATy-bwVUzx-bwVUxk-bwVUyx-9mq9ob-avRxTd-8pvzbg-icZx7P-icZwXR-id19eF-8FuEw9-7CQtEb-ehs86S-dB1X9k-dB7qDS-9AWv4F-85iekQ-8oC177-fNgqGQ


FINAL

This is my final image.                                                                                                                                              


I added a scar on my eyebrow, here's how I did it:

- Selected lasso tool and marked where I wanted the scar
- Selected, Filter, Noise, Add Noise
- Adjusted to 50%
- Pressed Command B (Colour Balance)
- Adjusted red to +60
- Selected Filter, Brush Strokes then Crosshatch
- Adjusted stroke length to 12, sharpness to 7 and strength to 1
- Then selected the blur tool and blurred the scar
- Then selected the line tool to act as stitches
- Added stitches onto scar
- Blurred stitches to look a lot more realistic
Done!
I also liquified my anger emotion and made the eyebrows dip to make her look a lot more angry. Before, she didn't look angry so I definitely needed to fix it! I also added a tear on my sad emotion, to resemble a mime. Mime's usually have a tear painted on there cheek, so I thought to create the emotion of sad, I could also paint a tear on my sad girl's cheek. I changed the sad girl's shirt to a blue to suit her emotion. I also fine tuned the tattoos and piercings. I will post another post with all the images I used in this photoshop.


Saturday, 29 March 2014

New Make-up on Emotions

I added make-up to both emotions, sticking with their colours.


I also used the clone stamp tool to get rid of a bit of there eyebrow. I made a slit because I was thinking of adding a scar in the slit to make her look more scary and mysterious. I also need to make the emotion's tattoos look more realistic. I also died down the fire eyes, because Mr Andrews told me they didn't look very realistic. They looked as if it was just photoshopped on. I've decided to turn down the opacity on the eyes and colour out some of the fire, too look more realistic. That's what I've made my focus in my avatar. I want to make it look as realistic as possible.

Make-up added

I used a tutorial from the internet to help apply make-up to my avatar.


This is how I did my eyeshadow,
- Select the paint brush tool and used the colour black and painted over the eye
- Selected the paint brush tool and used white to painted it in the inner corners of the eyes
- Once I did that and then I changed the blend mode to soft light

I did the eyeliner the same way, but only applied it on the bottom. I also made some blush and bronzer using the same method. I just turned the opacity down to around 20%. I changed the colour of the beanie using hue/saturation. I decided mutant green because it is a mysterious and dirty colour.

New Sad Emotions

I applied what I did to the anger emotion to my sad emotion. 


I added the tattoos on both of my emotions, as the emotions are the same person as the main avatar. I am going to change the sad emotion's shirt to a blue colour. Since the colours in the background were way too vibrant, I decided to change some of the background to black and white. 
- First you select channels
- Then you alter the modes to how you would like them

I need to colour out some red next to the anger emotion and add neck tattoos to the anger tattoo.

New Emtions

This time, I took Mr Andrews suggestions into action. I made the anger emotion stand out a bit more, I haven't done the sad emotion yet, but will next lesson.


I also added a shadow under the beanie, to make it look more realistic. This tool was very useful, as it made the beanie look a lot more realistic.
This is how I did it:
- Selected the image
- Selected effects, drop shadow
- Adjusted the Distance, Spread and Size

Mr Powell, also suggested I should use the paint brush tool, but put the flow down and paint (selected mask before hand) away the tattoo, to make it look realistic. Now I am mostly focusing on making my avatar look a lot more realistic. I also changed the colour of the anger t-shirt to an orange I picked orange, as it was a warm colour and was very similar to red. How I made my anger person look like this was like this:
- Open the base photo (luckily I already saved an image of myself with the background transparent)
- Filled the background with red, adjusted the opacity to around 30-50%
- The made a new layer, filled it with orange
- Added a mask and then coloured out the bits I didn't need for my t-shirt
The orange was the colour for my t-shirt.

New Beanie

To make my avatar look more like a rebel. I decided I should add some headwear. I decided a beanie, because in some of the images I researched.


The beanie is blue but I will change the colour to a much darker colour, like a mutant colour. Mr Andrews suggested I should focus on the main avatar and then the emotions next to her. He suggested I should colour behind the emotions so they look more a bit better with the background. Since the background is so vibrant, the colours a seen through the emotion avatars.